Display Panel (optional)
The Lovense Display Panel makes the show much more interactive compared to simple text based tip activation. We currently provide 2 panels for your tippers/viewers.
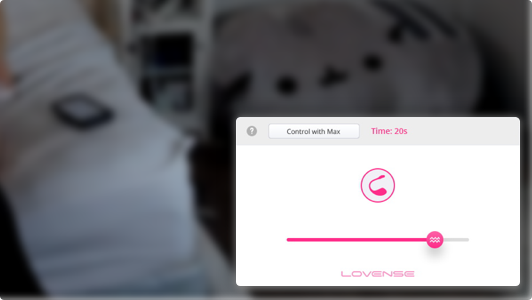
- Control Panel - This enables a new tip menu item called Give Control. It automatically generates a control link for the tipper when they tip for this item, allowing models to give direct control of their toys to tippers much more easily.
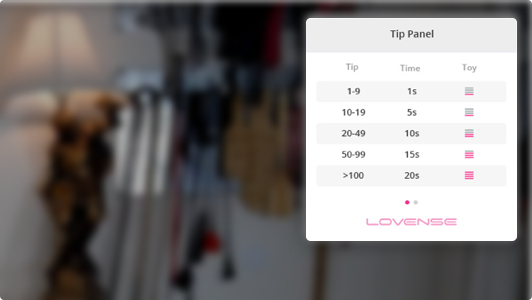
- Tip Panel - Show the model's tip menu directly on the viewer's page.
⚠️This feature can only be used with Cam Extension or Cam Kit
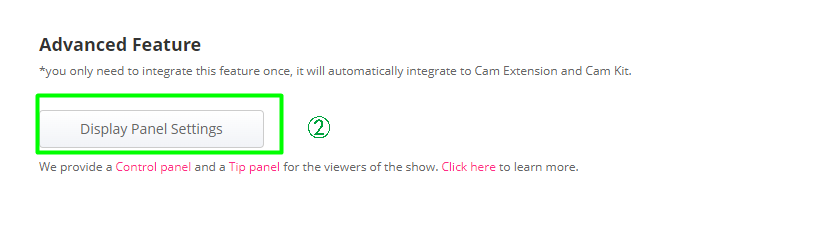
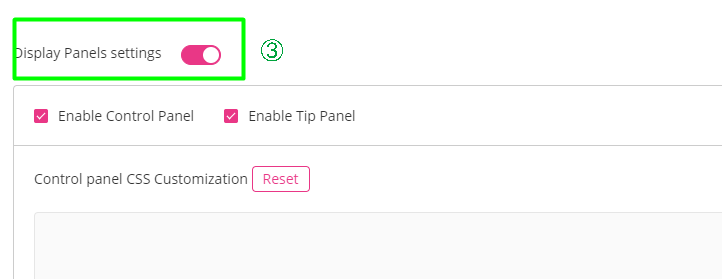
Step 1: Turn on the Display Panel on your Lovense Developer Dashboard
Go to the developer dashboard and turn on the Display Panel.
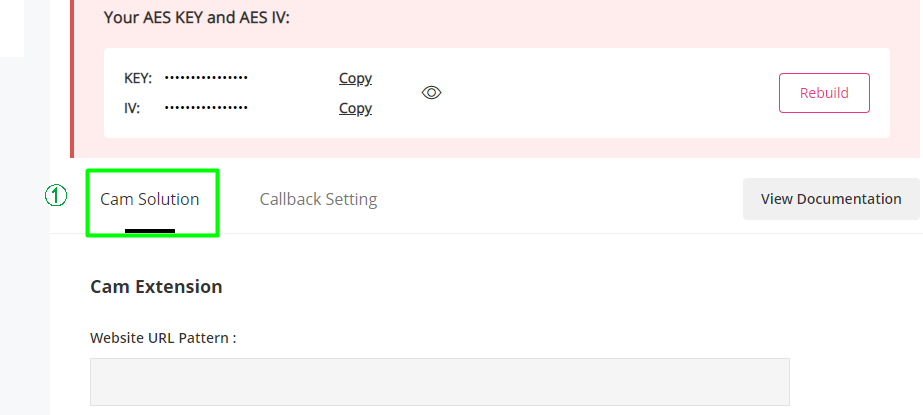
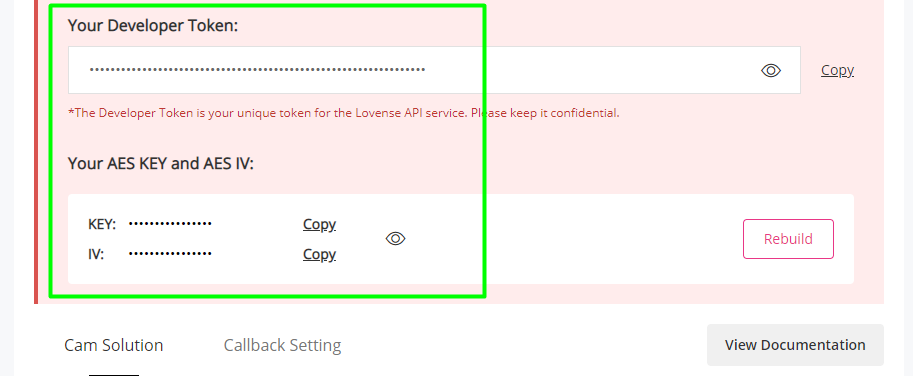
You will get a default AES KEY and AES IV that are used for encryption. Use them to encrypt the model name and the tipper name.
Step 2: Import the tipper.js to your tipper's page
<script src="https://api.lovense-api.com/api/cam/tipper/v2/tipper.js"></script>
Step 3: Initialize
Lovense.init(platform, modelKey, tipperKey)
Parameters
| Name | Description | Required |
|---|---|---|
| platform | Your Website Name (shown in the Developer Dashboard) | yes |
| modelKey | The model name encrypted on your server side using the AES KEY and AES IV. Do not expose your Key/IV in your JS code. (There is a demo on how to encrypt text using AES in JAVA below) | yes |
| tipperKey | The tipper name encrypted using the AES KEY and AES IV (The tipper name should be the Display Name showing in the public broadcasting room) | yes |
⚠️ Display Panels are only available when the model is using Cam Extension version 30.0.8+
If your website is a single page application, when the tipper leaves the model's room, call:
Lovense.destroy()
Here is the demo on how to encrypt text using AES in JAVA:
import org.apache.commons.codec.binary.Base64;

import javax.crypto.Cipher;
import javax.crypto.spec.IvParameterSpec;
import javax.crypto.spec.SecretKeySpec;
import java.security.AlgorithmParameters;
import java.security.Key;

public class AESDemo {

    private static Key getKey(String key)  throws Exception{
        byte[] keyBytes = key.getBytes("UTF-8");
        SecretKeySpec newKey = new SecretKeySpec(keyBytes, "AES");
        return newKey;
    }
    private static AlgorithmParameters getIV(String iv) throws Exception {
        byte[] ivs = iv.getBytes("UTF-8");
        AlgorithmParameters params = AlgorithmParameters.getInstance("AES");
        params.init(new IvParameterSpec(ivs));
        return params;
    }

    public static String encrypt(String key,String iv,String text) throws Exception {

        Cipher cipher = Cipher.getInstance("AES/CBC/PKCS5Padding");
        cipher.init(Cipher.ENCRYPT_MODE, getKey(key), getIV(iv));
        byte[] encryptedBytes = cipher.doFinal(text.getBytes());
        return new String(Base64.encodeBase64(encryptedBytes, false,true),"UTF-8");
    }

    public static String decrypt(String key,String iv,String text) throws Exception {
        byte[] textBytes = Base64.decodeBase64(text);
        Cipher cipher = Cipher.getInstance("AES/CBC/PKCS5Padding");
        cipher.init(Cipher.DECRYPT_MODE, getKey(key), getIV(iv));
        byte[] decodedBytes = cipher.doFinal(textBytes);
        return new String(decodedBytes, "UTF-8");
    }

    public static void main(String[] args) throws Exception{
        String key="jHZZwiizsAF2qTAY";  //use your own Key here
        String iv="zijknVpNWeeTYGPV";  //use your own IV here
        String test="Hello World!";
        System.out.println(encrypt(key,iv,test));;
        System.out.println(decrypt(key,iv,encrypt(key,iv,test)));;
    }
}
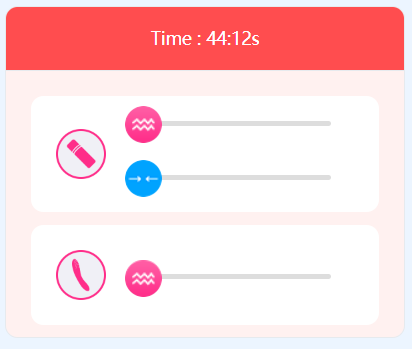
How to customize toy control panel
If you prefer to bypass the initial step of allowing viewers to choose the control method, you can directly access the control interface by following the method below.
Step 1 To immediately start controlling after receiving a tip, bypass the selection interface
You can achieve this by simply adding a fourth parameter with the value { autoStart: true } in the initialization function.
Example code:
Lovense.init('platform', 'modelName', 'customerName', { autoStart: true })
Step 2 To customize styles in the developer backend
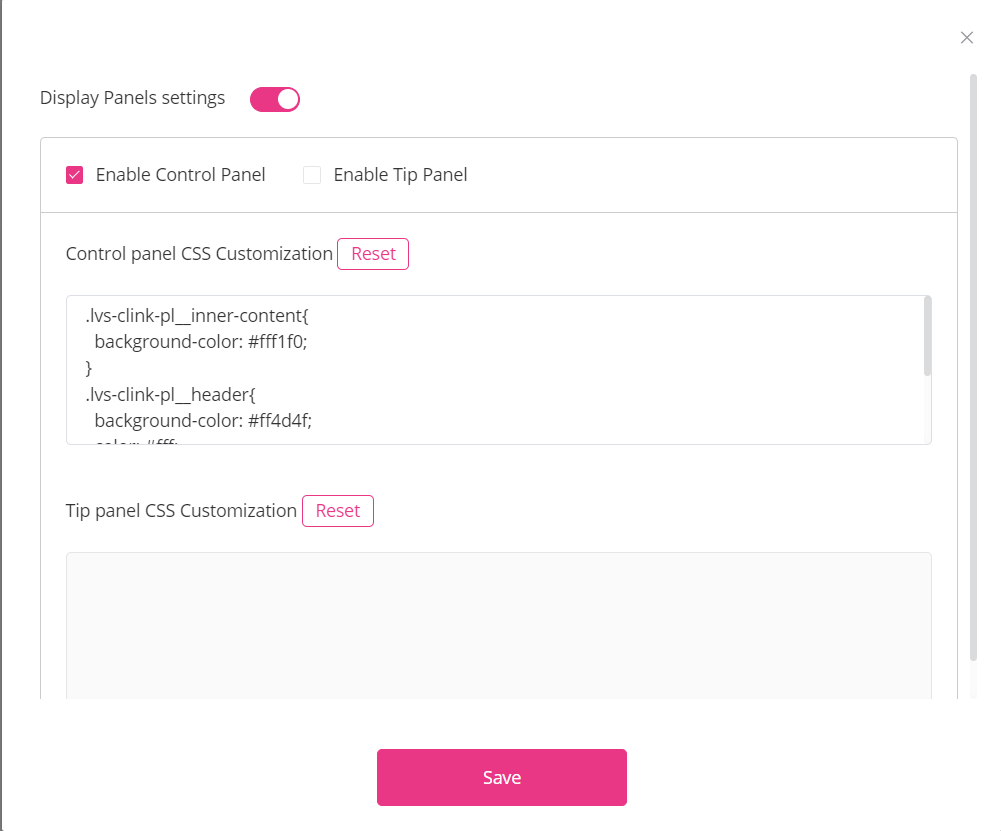
Example CSS code:
/* hide the remote scan entrance */
.lvs-clink-pl__switch-btn:nth-child(1) {
    display: none;
}

/* hide lovense logo */
.lvs-clink-pl__logo-lovense{
  display: none;
}

/* change the panel style */
.lvs-clink-pl__inner-content{
  background-color: #fff1f0;
}
.lvs-clink-pl__header{
  background-color: #ff4d4f;
  color: #fff;
}
.lvs-clink-pl__control-l-time{
  color: #fff;
}
.lvs-clink-pl__m-t-item{
  background-color: #fff;
}
The changes made to custom styles in the developer backend will be immediately visible in the appearance of your panel.